Table of Contents
Ever wondered why homemade chocolate bars can be better than store-bought ones? Making your own chocolate bars is a fun journey for all chocolate fans! It’s easy and rewarding, needing just a few ingredients and some simple steps. This recipe is perfect for beginners and experts, letting you make bars just the way you like them.
With a few basic ingredients, you can make chocolate bar recipe for about $1.05 each. That’s much cheaper than the $13.00 you might pay for high-end bars. Plus, these treats can last up to eight months if stored right. So, get your molds ready and start making your own chocolate!
Key Takeaways
- Prep time: 10 minutes; total time: 30 minutes.
- Use high-quality chocolate for best results.
- Tempering chocolate is essential for shine and crispness.
- Homemade chocolate bar recipe cost significantly less than store-bought options.
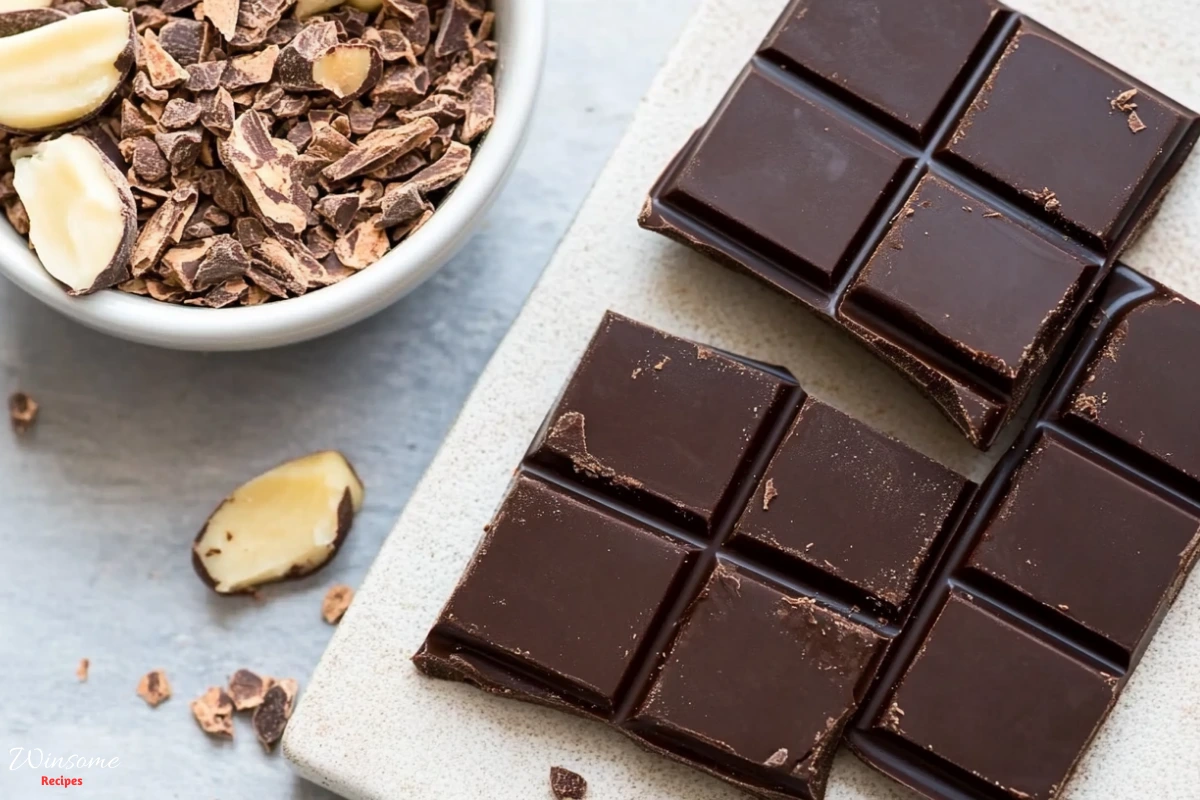
- Customize your bars with toppings like roasted almonds and other flavors.
Introduction to Homemade Chocolate Bars
Making your own chocolate bar recipe at home is exciting. You get to pick the ingredients for taste and health. This makes your chocolate bars not just tasty but also a fun project.
Creating chocolate at home is rewarding. It’s great for satisfying your sweet tooth or showing off your cooking skills. Plus, you can skip the additives found in store-bought chocolate, making it healthier.
Imagine giving your homemade chocolate as gifts or serving it at parties. You can choose your favorite flavors, like nuts or fruits. Once you start making these bars, you’ll love it so much you won’t want to stop!
If you love chocolate treats, don’t miss our Delicious Banana Chocolate Brownies Recipe. The combination of bananas and chocolate creates a moist and rich dessert, much like the homemade goodness of these chocolate bars
The Basics of a Chocolate Bar Recipe
Making your own chocolate bar recipe is fun and opens up a world of flavors. A simple recipe needs just a few key ingredients. High-quality chocolate, like milk, dark, or white, is the base for a tasty treat.
To start, you need to know how to melt chocolate right. This step is crucial for getting that smooth texture. After melting, pour the chocolate into molds and let it cool. This is how you create the shape of your bars.
Now, think about what you can add to your chocolate bars. You can use nuts, fruits, or even candied bacon or mint Oreos. There are so many ways to make your chocolate bar recipe special, catering to everyone’s taste.
Essential Ingredients for Your Homemade Chocolate Bars
Making delicious homemade chocolate bar recipe needs the right ingredients. High-quality chocolate is key. It makes the chocolate melt smoothly and taste better. Choose from milk, dark, or white chocolate, but avoid cheap baking chips.
High-Quality Chocolate Choices
Here are some chocolate options:
- Dark Chocolate: Offers a rich, intense flavor.
- Milk Chocolate: Sweet and creamy, ideal for a treat.
- White Chocolate: Adds a smooth, sweet touch.
Each type can make your recipe unique. For a healthier option, dark chocolate with more cacao content has more antioxidants and less sugar.
Flavoring and Topping Options
Flavorings can make your chocolate bars special. Try:
- Vanilla extract for a classic taste.
- Cinnamon or cardamom for a spiced kick.
- Flavored oils to enhance sweetness.
Toppings can turn a simple chocolate bar recipe into a gourmet treat. Popular choices include:
- Nuts for crunch and added protein.
- Dried fruits for natural sweetness.
- Cacao nibs or seeds for texture and nutrition.
Using these ingredients makes chocolate-making fun. You’ll get amazing results that wow everyone!

Easy Steps to Make Your Chocolate Bar Recipe
Making your own chocolate bars is fun and rewarding. These steps will help you succeed in the kitchen. You can make a no-bake or decadent chocolate bar recipe for any event.
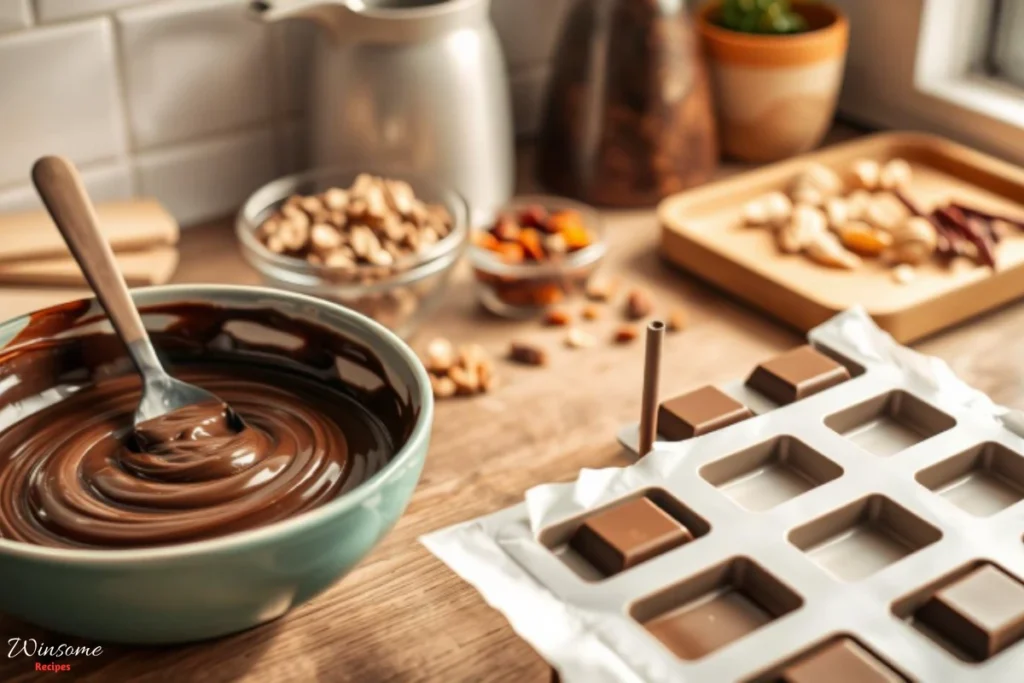
Step 1: Melting the Chocolate
Start by picking high-quality chocolate. Melt it in a double boiler or microwave, but don’t overheat it. Stir until it’s smooth and glossy. This step is key for the right texture.
Step 2: Pouring into Molds
Once melted, pour the chocolate into molds. Make sure it’s spread evenly for uniform bars. If using silicone, tap it gently to remove air bubbles. This makes your bars look professional.
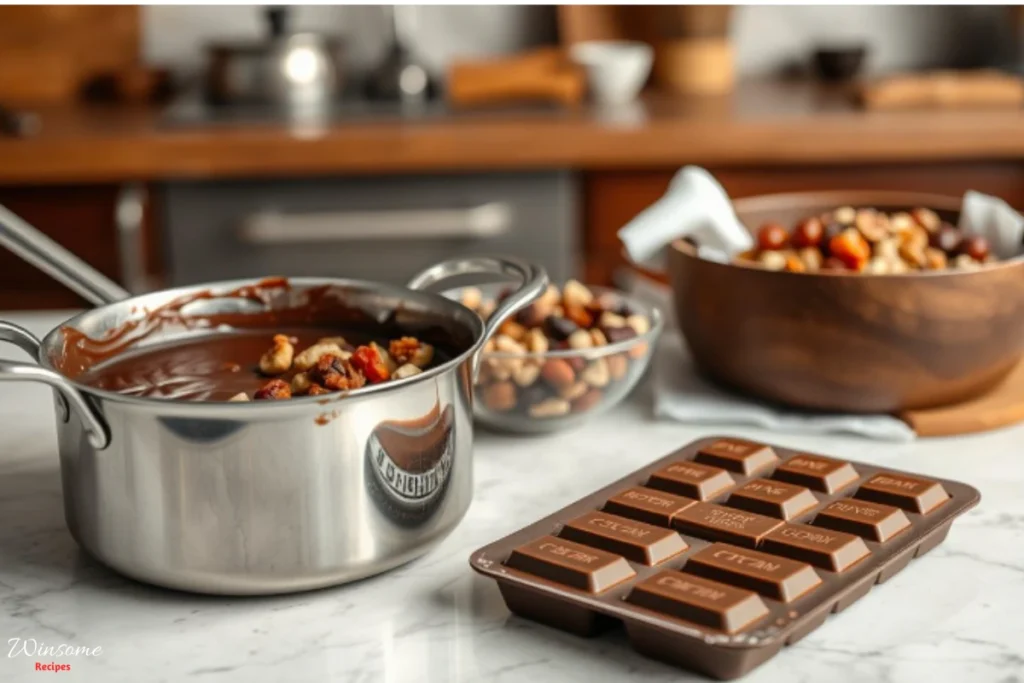
Step 3: Adding Toppings and Setting
After pouring, add toppings like nuts or sea salt for extra flavor. Let them set at room temperature or chill them in the fridge. This step makes your treat solid and delicious.
Customizing Your Chocolate Bar Dessert
Making your own chocolate bars lets you tailor them to your liking. You can create vegan versions and try out new flavor mixes. It’s all about being creative and making something special!
Vegan and Healthy Variants
For vegan chocolate bars, use cacao butter, cocoa powder, and maple syrup. These ingredients are great for plant-based diets and are healthier. Here’s a list of ingredients for vegan chocolate bars:
- Cacao butter
- Cocoa powder
- Maple syrup or agave nectar
- Coconut oil for extra creaminess
These ingredients make tasty treats for everyone, no matter their diet.
Creative Flavor Combinations
Be creative with your chocolate bars for amazing flavors! Try these ideas:
- Almond and sea salt
- Dark chocolate with raspberry and pistachio
- White chocolate with malted milk balls or rice krispies
- Dark chocolate with crunchy chia seeds and coconut
These pairings add new tastes and make your chocolate bars extra special. Experiment to find your favorite unique mix!
Storage Tips for Homemade Chocolate Bars
Storing homemade chocolate bars right keeps their flavors and textures perfect. Store them in an airtight container in the fridge. This way, they stay fresh for up to two weeks. Or, you can freeze them for even longer enjoyment.
- Keep your chocolate bars in a cool, dark place, ideally at temperatures between 60-68°F.
- Avoid exposing your homemade chocolate bars to moisture or strong odors to prevent flavor alteration.
- When freezing, seal chocolate bars in a Ziploc-type bag, as this reduces the risk of freezer burn.
- For the best experience, let the chocolate come to room temperature before indulging to allow flavors to disperse
By following these tips, you’ll keep your chocolate bars tasting great. Enjoy them within their best shelf life for the best taste!
If you’re intrigued by trendy chocolate recipes, don’t miss our Make the Viral Dubai Chocolate Bar Recipe. Its luxurious layers and bold flavors are a fantastic complement to your homemade chocolate bar experiments.
Frequently Asked Questions
In this section, we’ll tackle some common chocolate bar recipe questions. These answers can help you improve your chocolate-making skills. They ensure your creations are the best they can be!
How long are homemade chocolate bars good for?
Homemade chocolate bars can last several months. This depends on the ingredients and how you store them. Dark chocolate usually lasts longer than milk or white chocolate because it has less moisture.
To keep them fresh, store them in a cool, dry place. Make sure they’re away from direct sunlight.
Is cooking chocolate better for melting?
Cooking chocolate, or baking chocolate, melts smoothly. It’s perfect for making homemade chocolate bars. Choose high-quality brands for the best results.
Don’t add water to the chocolate while it’s melting. This can ruin the texture and make it seize up.
What makes chocolate bars different?
Chocolate bars vary in flavor, texture, and ingredients. You can pick from dark, milk, or white chocolate. The cocoa content and added ingredients like sugar or milk change the taste.
Knowing these differences lets you make chocolate bars that fit your taste. You can customize them to your liking.
How long does it take to grind chocolate?
Grinding chocolate’s time depends on the method and tools you use. It usually takes 20 to 30 minutes to get a smooth consistency. The finer the grind, the better your chocolate bars will taste and feel.
Conclusion
This guide has ended, but you now have a simple homemade chocolate bar recipe. It’s sure to impress anyone. Making these treats is fun and rewarding. You get to melt chocolate and pick your favorite toppings.
Try different chocolate bar ideas, like dark or milk chocolate. You can make a traditional bar with cocoa nibs or try vegan options with coconut oil. Chocolate-making adds a special touch to your cooking, making it personal and fun.
Now, it’s time to start making your own chocolate bars. Get your ingredients ready and explore new flavors. Your chocolate-making adventure is just starting, and we’re excited to see what you’ll make.